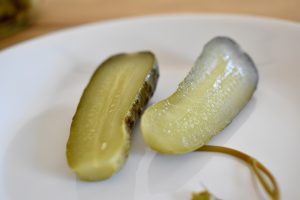
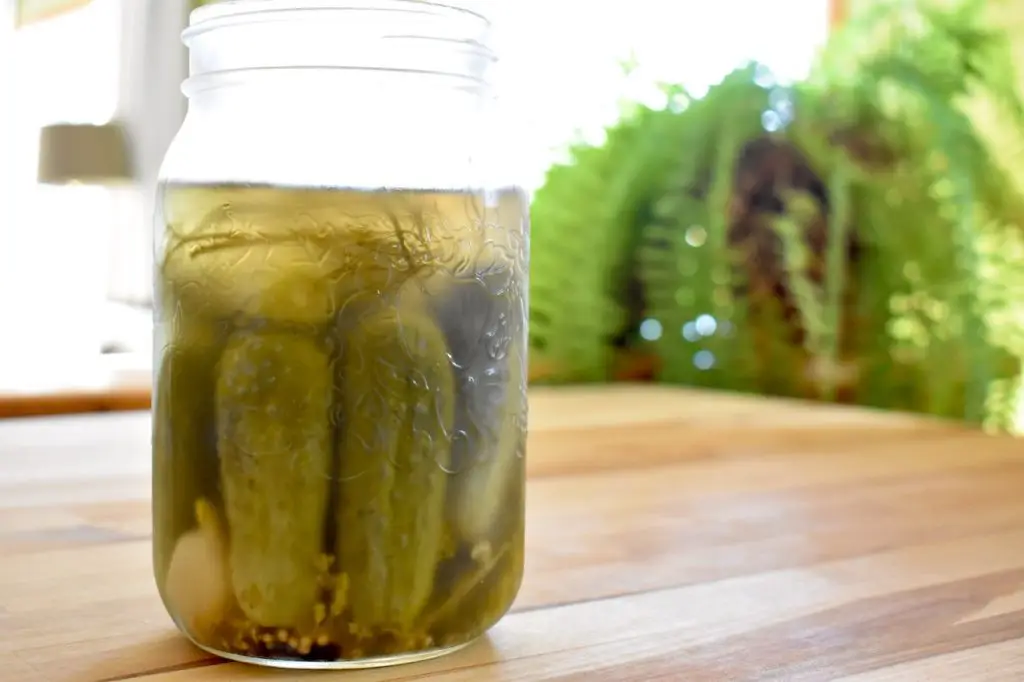
How to Make Dill Pickles
This is a nice small batch pickle recipe for those who don’t want to can enough for the end of the world, or for those who are just getting into canning and want to experiment.
My blend of vinegars and spices make for an intense pickle with soft ‘edges’, and is quite lovely. Feel free to replace the spices with store bought ‘pickling spice’ if that’s easier for you though.
For crunchier pickles, buy the freshest pickling cucumbers possible and when you get them home, put them in a big bowl full of icy cold water until you’re ready to use them. You should also cut off the blossom ends of the cucumbers, which I explain in the recipe.
Canning is easy, but it can be very dangerous! IF YOU DON’T PROPERLY STERILIZE YOUR EQUIPMENT, YOU RUN THE RISK OF ALLOWING BOTULISM TO GROW, WHICH IS VERY DANGEROUS.
But, like I said, it’s easy, just follow the rules and keep everything clean and you’ll have nothing to worry about. Visit the Government of Canada’s Home Canning Safety Page to learn more if you’re concerned about it.
You can buy home canning kits that include a pot with tools that make canning easier. It is not at all necessary to buy all of that stuff, but it does help quite a bit. If you plan on doing a fair amount of canning, I definitely recommend picking it up.
- Prep Time45 min
- Cook Time15 min
- Total Time1 hr
- Yield4 quart (liter) jars
Ingredients
- 4 lbs (1.8kg) washed small pickling cucumbers
- 3 cups (750ml) white vinegar
- 1 cup (250ml) cider vinegar
- 6 cups (1500ml) water
- 3 tablespoons (45g) kosher or pickling salt
- 1 tablespoon (12.5g) white sugar
- 4 bay leaves
- 16 peppercorns
- 1 teaspoon (3g) yellow mustard seeds
- 8 allspice berries
- 4 cloves
- 4 dried chilies (more if you like it spicy)
- 8 large cloves (or 16 small) garlic, peeled
- 4 large or 8 small dill heads/umbels (or 4 teaspoons (8g) dill seed)
Preparation
Put the 4 jars, as well as the screw tops and lids into a pot that is taller than the jars (black canning pots are made specifically for this, but I use a stainless steel pot, which works equally fine).
Fill the pot with water, being sure to fill the jars as well (this stops them from floating and clanging together), then put it gently on the stove top and bring to a boil.
Boil the jars for 10 minutes, then carefully remove from the water. You can buy canning tongs that make transporting the hot jars MUCH easier, I recommend you do.
Leave the water in the pot, as you’ll be boiling the jars again once full.
Snip off the blossom ends of all of the cucumbers. This end carries enzymes that may soften your pickles. If you’re unsure of which end to snip off, just cut off both tips. Generally the blossom end will be on the tapered end of the cucumber.
In a separate pot, add the vinegars, water, salt, and sugar and bring to a boil, stirring to dissolve the salt and sugar.
Once the liquid has been brought to a boil and everything has been dissolved, turn off the heat.
Divide the spices, garlic cloves, and dill heads evenly between the 4 jars.
Pack the cucumbers in one at a time, standing them up vertically. Try to pack them in relatively tight. You want them all to be pretty much under the ‘neck’ of the jar.
If you have a couple that won’t fit, sprinkle some salt on them and eat them as a snack!
Ladle the hot liquid into each jar, leaving a 1/2″ (1.5cm) of space between the liquid and where the lid will be. This is called headspace in the canning world.
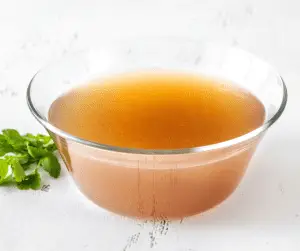
You’ll likely have a bit of liquid leftover. You can dispose of it, or turn it into a salad dressing.
Use a paper towel to wipe off the rims of the jars, then put on the lids. Gently screw on the screw tops, firm, but not too tight.
Bring that big pot of water back to a boil.
Now VERY carefully put the jars into the water.
Set a timer for 15 minutes and let the jars boil in the water for exactly that amount of time.
After 15 minutes VERY carefully remove the jars from the water and put them somewhere where they can rest undisturbed for the night.
You’ll want the jars to remain untouched for at least 12 hours while they go through the process of cooling and sealing themselves. You’ll likely hear some loud popping sounds.
After 12 hours, press the lid of the jar with your finger. If nothing happens, then your jar has sealed and it’s good to go. These jars can stay on a shelf (best kept in a cool area with no exposure to the sun) for months and months.
If the lid pops under the pressure of your finger, it means that it didn’t seal. This just means you’ll have to keep that jar in the fridge and eat the pickles within a few weeks.
Although you’ll probably want to dig right in, it’s best to wait a few days for the flavour of the pickles to mature before enjoying them.
Once you pop a jar open, it must be kept in the fridge until you finish the pickles.*
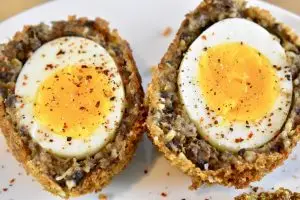
*Once you’ve eaten the pickles, try popping a couple of hard boiled eggs into the pickling liquid and let them hang out for a few days in the fridge for easy quick-pickled eggs!