How to Fillet a Bass
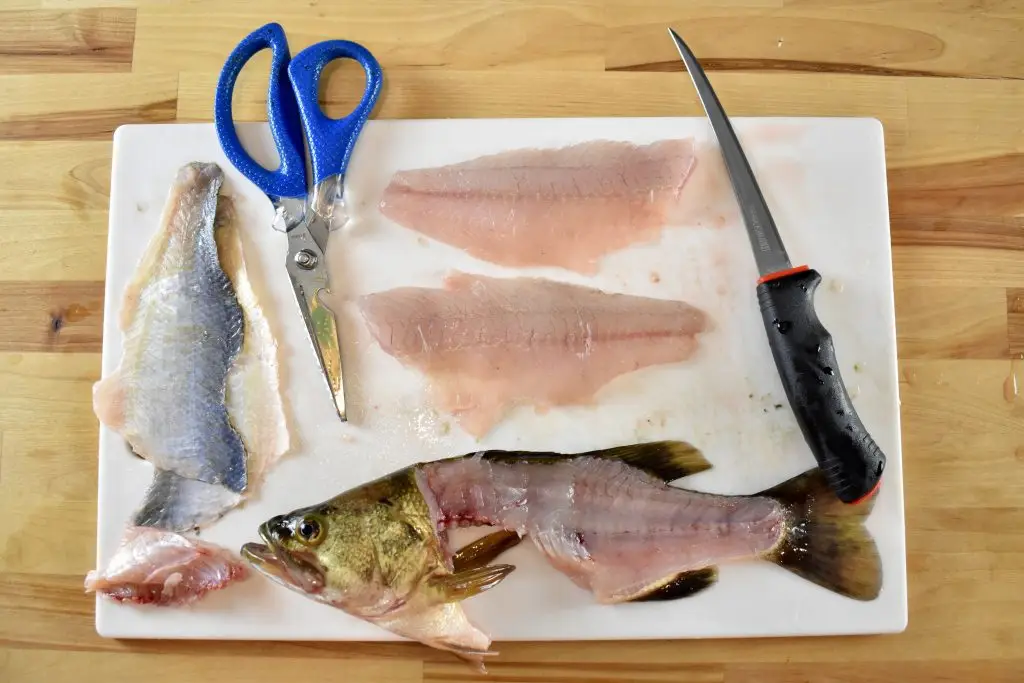
This is a pictorial guide which you can follow to get boneless, skinless fillets off of a largemouth bass, smallmouth bass, white bass, perch, crappie, or other bass-like fish. You’ll also end up with rib bones and a gutted and de-gilled carcass for making fish stock.
There are definitely other ways to fillet fish, but this is the way I like doing it.
Use the fillets for a fish fry or in your favourite recipes. Try any of these: Korean Bass Jeon Pancakes, African Bass and Plantains, or Bass Hushpuppies. Use the ribs and carcass to make a delicious fish stock or soup. Try using it in this Chinese Bass Congee.
- Special Equipment
- Fillet Knife
- Scissors/Shears
- Cutting Board
- 1 Bass-like fish
Preparation
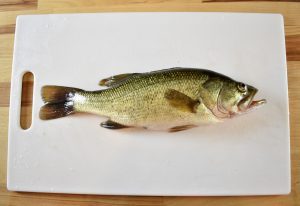
Start with a whole bass, rinsed off in cold water and set down on a clean cutting board. If you need instructions on how to dispatch a live bass before filleting, click here.
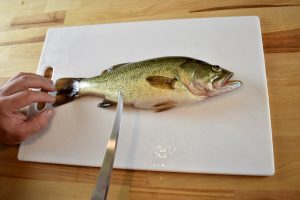
This guide is for skinless fillets, so I won’t be scaling the fish. If you would like scaleless skin-on fillets, you can learn how to scale a fish here, then just skip Step 11.
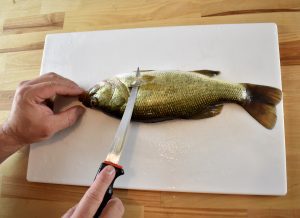
Flip the fish over and find the pectoral fin on the side. Slide the knife underneath it.
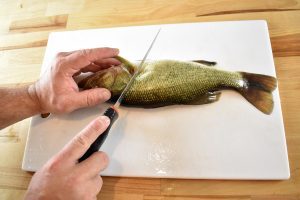
Sidle the knife up to the bone of the fin, then make a diagonal incision from the ‘shoulder’ to the belly at about a 45° angle.
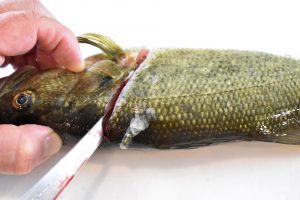
At first you’ll feel pressure from the scales, but you’ll pop through pretty easily. Next you’ll encounter the spine once you’re about a knife’s width down (depending on the size of the fish). Stop once you hit the hard spine.
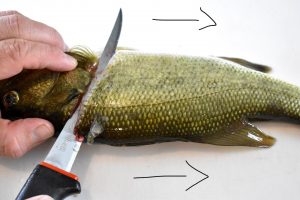
Now turn your knife so the blade edge is facing the tail and the flat of the blade is lying on the spine.
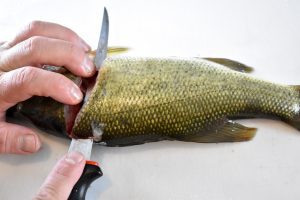
Grip the head-side of the cut with the fingers of your off-hand, then begin gently sawing back and forth, applying pressure towards the tail. You’ll encounter rib bones at first which you must cut through, but after the rib cage, cutting will be easier. Try to keep the flat of your blade on the spine the whole time. This will get much easier with practice!
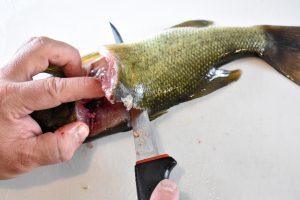
If it makes it easier for you, you can lift up the fillet as you continue to cut towards the tail. This allows you to see your progress, but isn’t necessary.
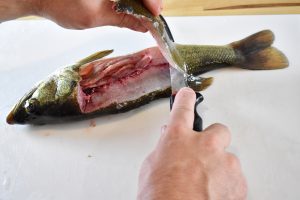
As you can see, the guts aren’t affected by the filleting.
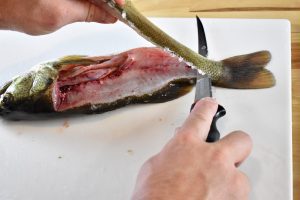
Once you reach the tail, lay the fillet back down if you’ve had it up, then firmly push the knife through the last bit of flesh and skin out towards the tail.
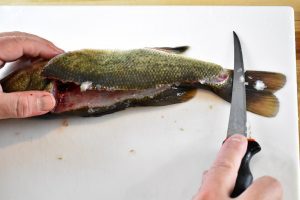
There you go, you’ve completed the first fillet!
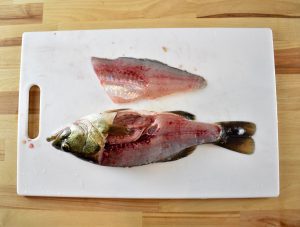
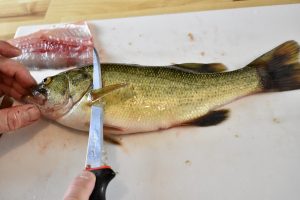
Flip the fish over and follow the same steps on the other side to take off the fillet.
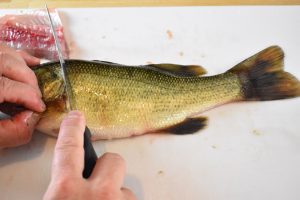
Make your incision beside the pectoral fin, from shoulder to belly.
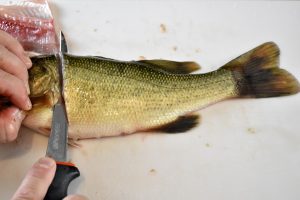
Turn the knife horizontally and begin cutting towards the tail.
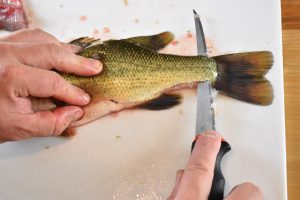
Cut through the last bit of flesh and skin to release the fillet.
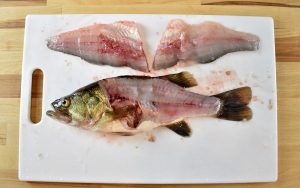
My second fillet was a little rough since I was going slow for pictures, but that’s okay, it happens.
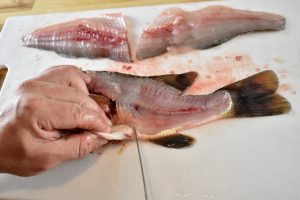
Now it’s time to separate the guts from the carcass. First find the anus on the fish, located towards the back and bottom fin. Make an incision on the tail side of the anus.
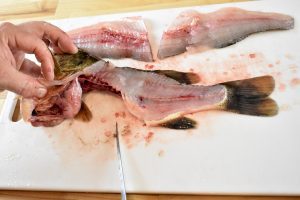
Pull away the gutpile from where you cut.
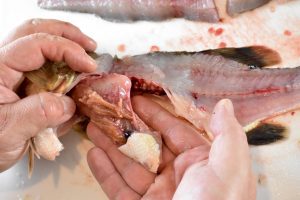
Grab the gutpile with a hand and pull firmly away from the head.
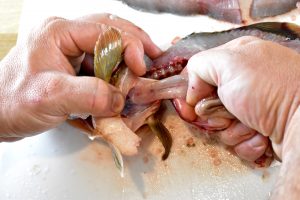
There will be a white tube attaching the guts to the head. If you can’t easily pull it out by hand (often the case with larger fish), you’ll need to cut it with your knife or some scissors.
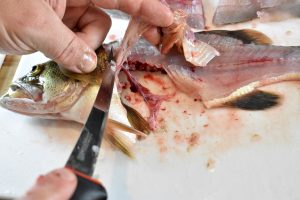
Now discard the gut pile. You may want to check out what is inside the stomach at this point. To see how to do this click here and check out step 10.
Now it’s time to remove the gills. Gills add a bitter taste to stock, so be sure to remove them.
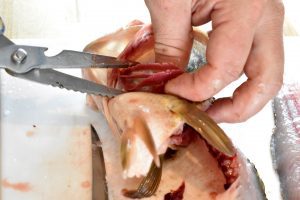
The gills can be very sharp and abrasive so you may want to use gloves. You could also just use pliers to tear them out. Here, I used scissors to snip them off at the base and pulled out all of the gill material. Discard the gills with the gutpile.

Now it’s time to skin and bone the fillets.
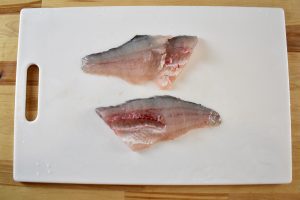
Take one fillet and point the belly side away from you. You’ll notice a ridge of rib bones poking out on a red line.
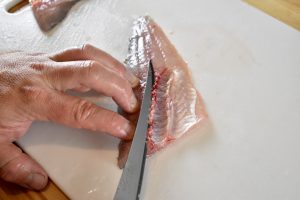
Make a very shallow cut just behind the rib bones, then keep cutting, allowing your knife to follow the contours of the ribs, being sure to cut as little meat as possible from the actual fillet.
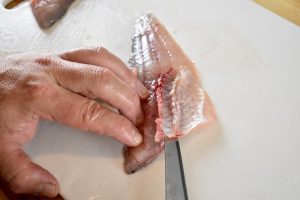
Keep cutting towards the belly, keeping the blade of the knife pointing slightly upwards at the rib bones while pushing the knife.
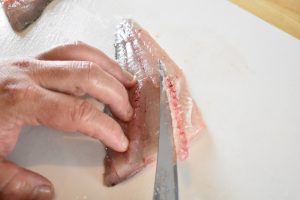
The bones will be smaller and softer towards the belly.
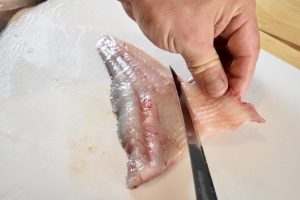
Lift up the ribs and pull upwards gently as you finish off the cut, pushing through the last bit of flesh to separate the ribcage.
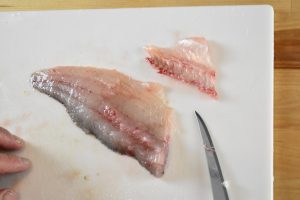
Set the separated ribcage aside, then do the same process for the other fillet.
Now it’s time to remove the skin from the fillets.
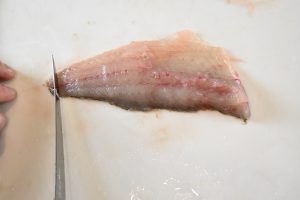
Lay a fillet skin-side down on the cutting board. Make an incision 1/4″ or 6mm from the tip of the tail, just through the flesh. Don’t cut through the skin! The little nubbin on the end will be your holding piece.
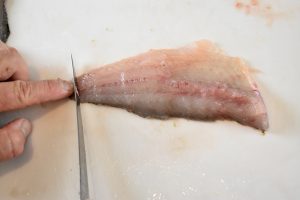
Holding the very tip of the tail, turn the knife horizontally and begin sawing towards the large end of the fillet.
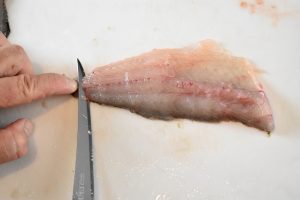
Keep the flat of the blade against the skin and keep sawing your way across the fillet while you hold the end.
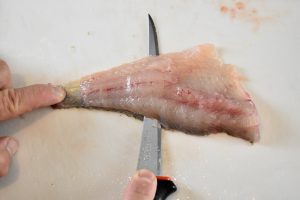
If you accidentally cut through the skin, start over, but from the other side of the fillet. If things are going good, just keep sawing.
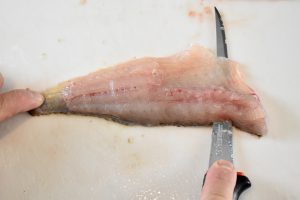
Saw right through the end, pushing through the flesh and separating the fillet from the skin.
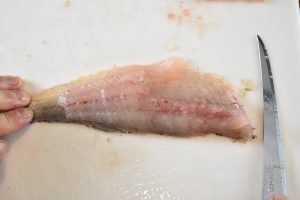
You can dispose of the skin.
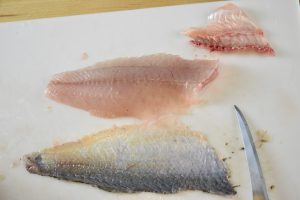
Now repeat on the other fillet.
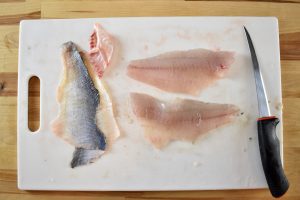
Rinse off the fillets and carcass, then pat dry with paper towels. You can either cook them right away or freeze from this point. Discard the guts, gills, and skin.
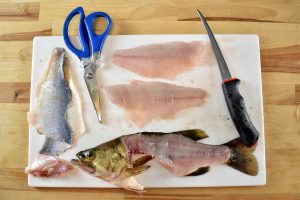
Congratulations, you just filleted a bass, well done!

