How to Debone a Chicken

I de-boned this particular chicken to
include it as part of a Turducken, but instead, you could stuff it, then roll and tie it, and roast it
for a delicious alternative to a whole roasted chicken.
Materials
- 1 whole chicken
- Boning knife
- Cutting board
Instructions
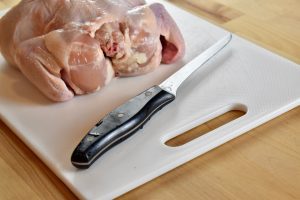
You’ll want a decent boning knife to do this job. Alternatively, you could use a paring knife for cutting the wingtips and a fish fillet knife for the de-boning.
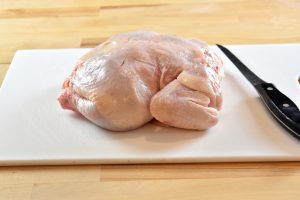
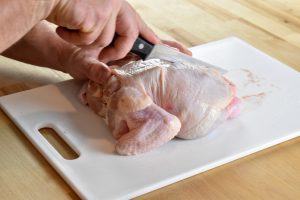
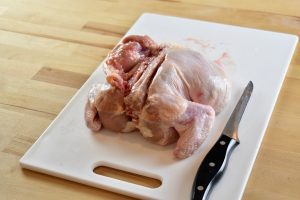
Start with the chicken facing breast down, point the head side towards yourself.
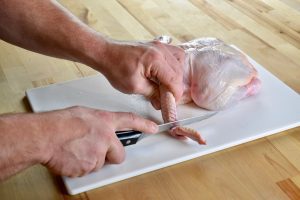
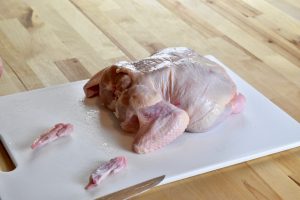
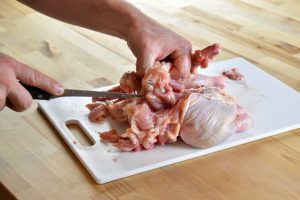
Start by cutting the wingtips off, as you cannot de-bone them.
Wiggle the wingtip to ascertain where the joint is, then, holding the larger part of the wing, cut through the joint.
Set the tips aside for stock.
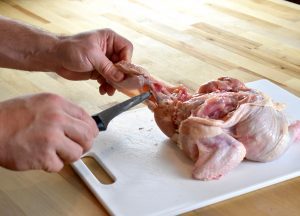
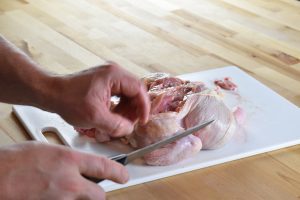
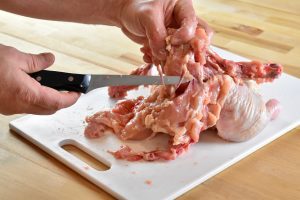
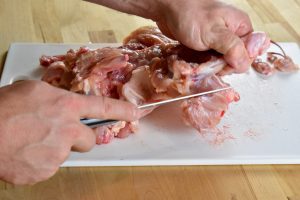
Find the spine by running your finger down the back.
Make an incision down the entire spine, from tail to neck.
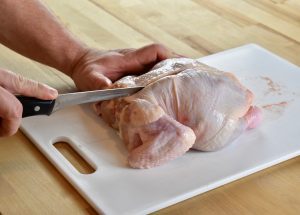
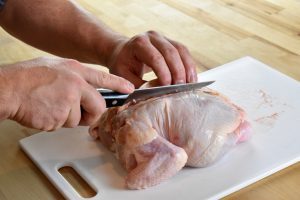
Make long shallow slices down the side of the spine and under the left side of the incision.
Use your fingers to peel back the flesh from the bone as you continue to make slices along the ribs, being careful not to slice through the actual meat and skin.
Keep slicing until you run into the wing joint and the thigh joint on the front and back of the bird.
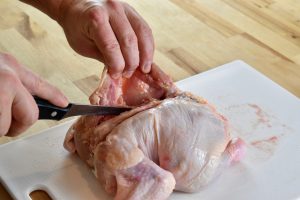
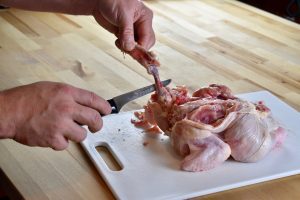
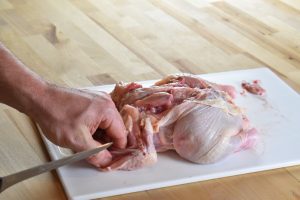
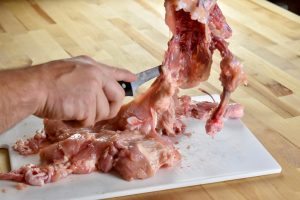
It’s time to de-bone the left wing.
Pull out the wing and feel for the ‘drumette’ section’s bone with your fingers.
Make an incision from the shoulder to the ‘flat’ section of the wing. The incision should connect perpendicularly with the cut you made along the spine.
Poke your knife underneath the drumette bone and separate the flesh from the bone.
Make another similar incision from the tip of the wing to your last cut on the drumette.
Poke your knife into the incision and separate the flesh from the two little bones. Put the knife in the flat of the wing, so the top flat of the blade is resting under the bones, and the bottom flat of the blade is touching the flesh. Point the edge towards the wing tip. Now, being careful of your fingers, push the knife towards the wingtip, until it bursts through. This should fully separate the bone from the meat. Make any necessary incisions to complete it.
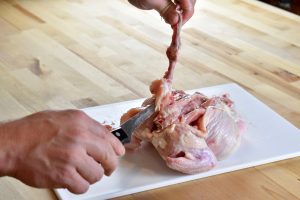
Grasp the wing bone and pull up to expose the meat underneath it.
Continue making incisions to free the bones while you pull the wing bones up and to the right, until you reach the keel or breast bone (which is the large ridge of bone between the two breasts).
Now start with the other wing, using the same method.
Pull the bones to the left and make incisions to free the bones from the meat towards the breast.
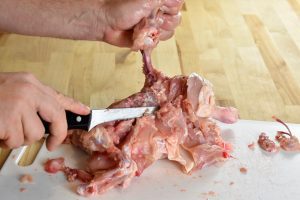
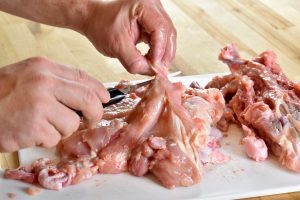
At this point, you’ll run into the wishbone. Run your knife along the front and back of the wishbone while pulling up on the ribcage to free it from any meat, then cut the wishbone at the base of the ‘V’ to remove it completely.
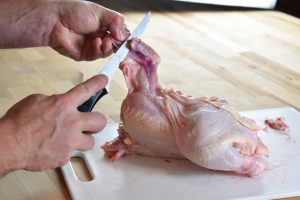
Move back towards the thighs.
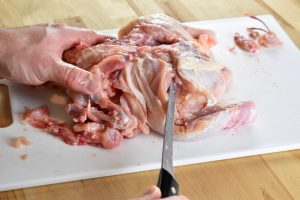
Use your fingers to locate the thigh bone, then make an incision all the way down it to the drumstick.
Make another incision down the drumstick bone to the ankle joint, or end of the drumstick.
Dig your fingers in to grasp the thigh bone, separating it from the meat. This can mostly be done by force, but feel free to use the knife instead.

Much like the wing, pass the knife under the leg bone so the top flat of the knife is touching bone and the bottom is touching meat, while the edge is facing the end of the leg.
Now push the blade out so it bursts through the connective tissue at the end of the leg/ankle. Trim off any cartilage that sticks to the meat.
Turning your knife edge back towards the thigh, run the knife down the leg and thigh bones to fully separate the meat, while grasping the leg bone.
Still grasping the leg bone, pull upwards and to the left, while making slices under the thigh to free the meat from the bones. Stop when you get to the middle of the bird.
Make incisions from where the wing was, to where the thigh was, rolling the ribcage to the left until you reach the middle of the bird.
Now repeat the process, removing the leg and thigh bones from the other side.
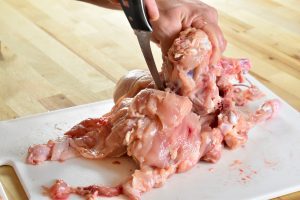
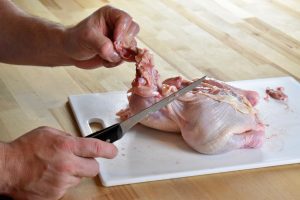
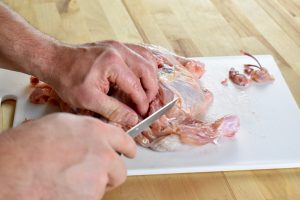
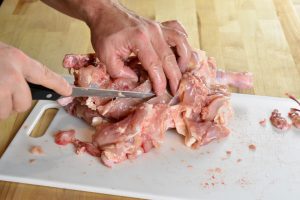
Pull the entire bone structure upwards and back, running the knife repeatedly across the keel or breast bone, so that the meat stays on the cutting board and the bones get peeled off.
Continue until you get to the very end, making any necessary incisions to fully remove the bone structure from the meat.
Feel along where the keel bone was located in between the two breasts to check if any cartilage was left behind. If so, pinch it upwards and trim it with the knife.
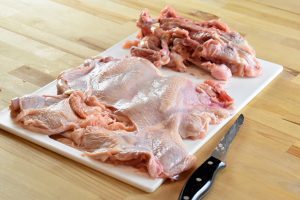
Gently flip the meat over and rearrange it so it resembles a chicken again.
You’ve done it, you’ve deboned a chicken!
Photo credit goes to Tyler Robinson who was compensated with turducken.